Description and Purpose
Events are used to inform users of time-sensitive events such as meetings, activities, and office closures.
Adding and Managing Events
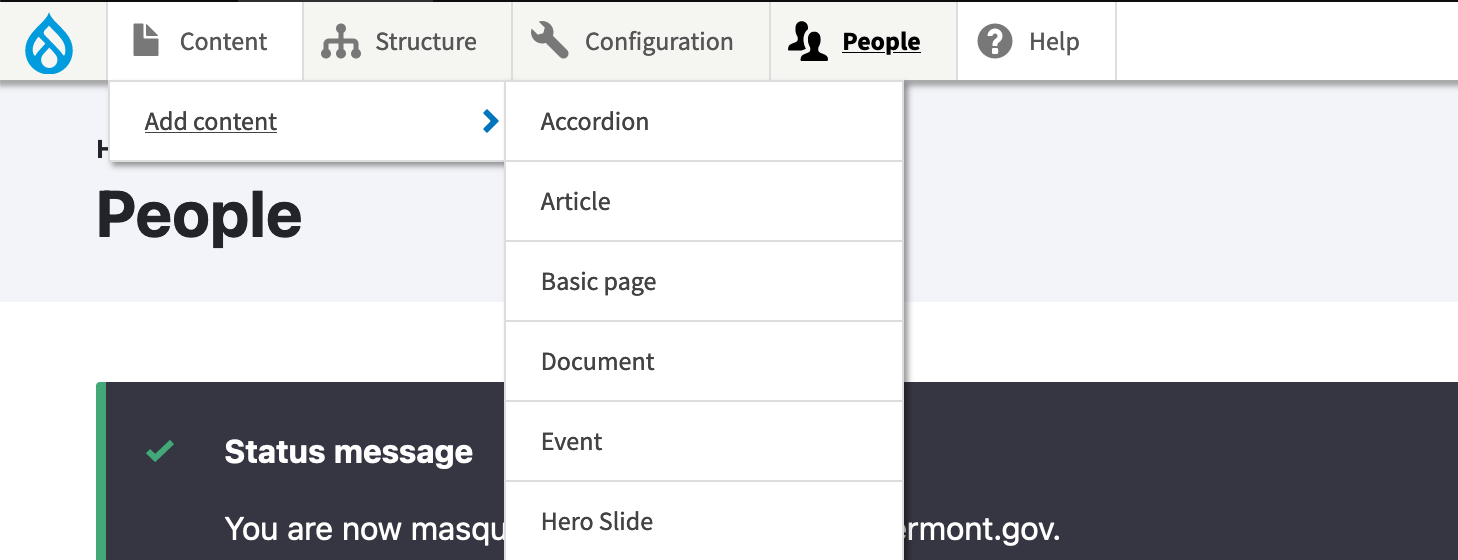
To create a new Event, navigate to Content -> Add content -> Event.
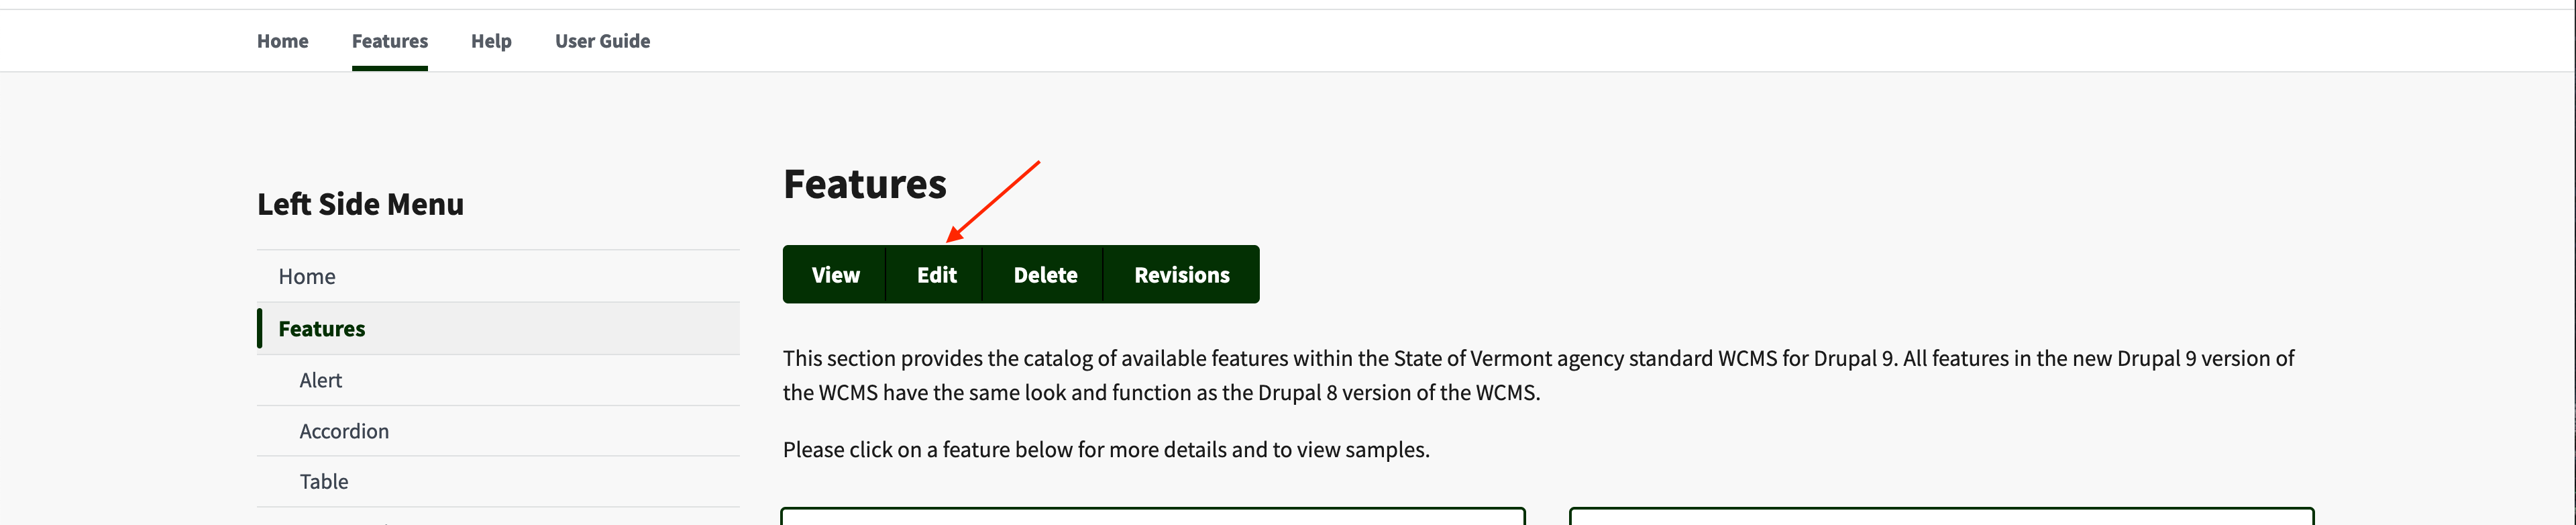
If you’d like to edit an existing Event, either navigate to the event page and select “Edit” in the list of options at the top of the page (Directly below the title)
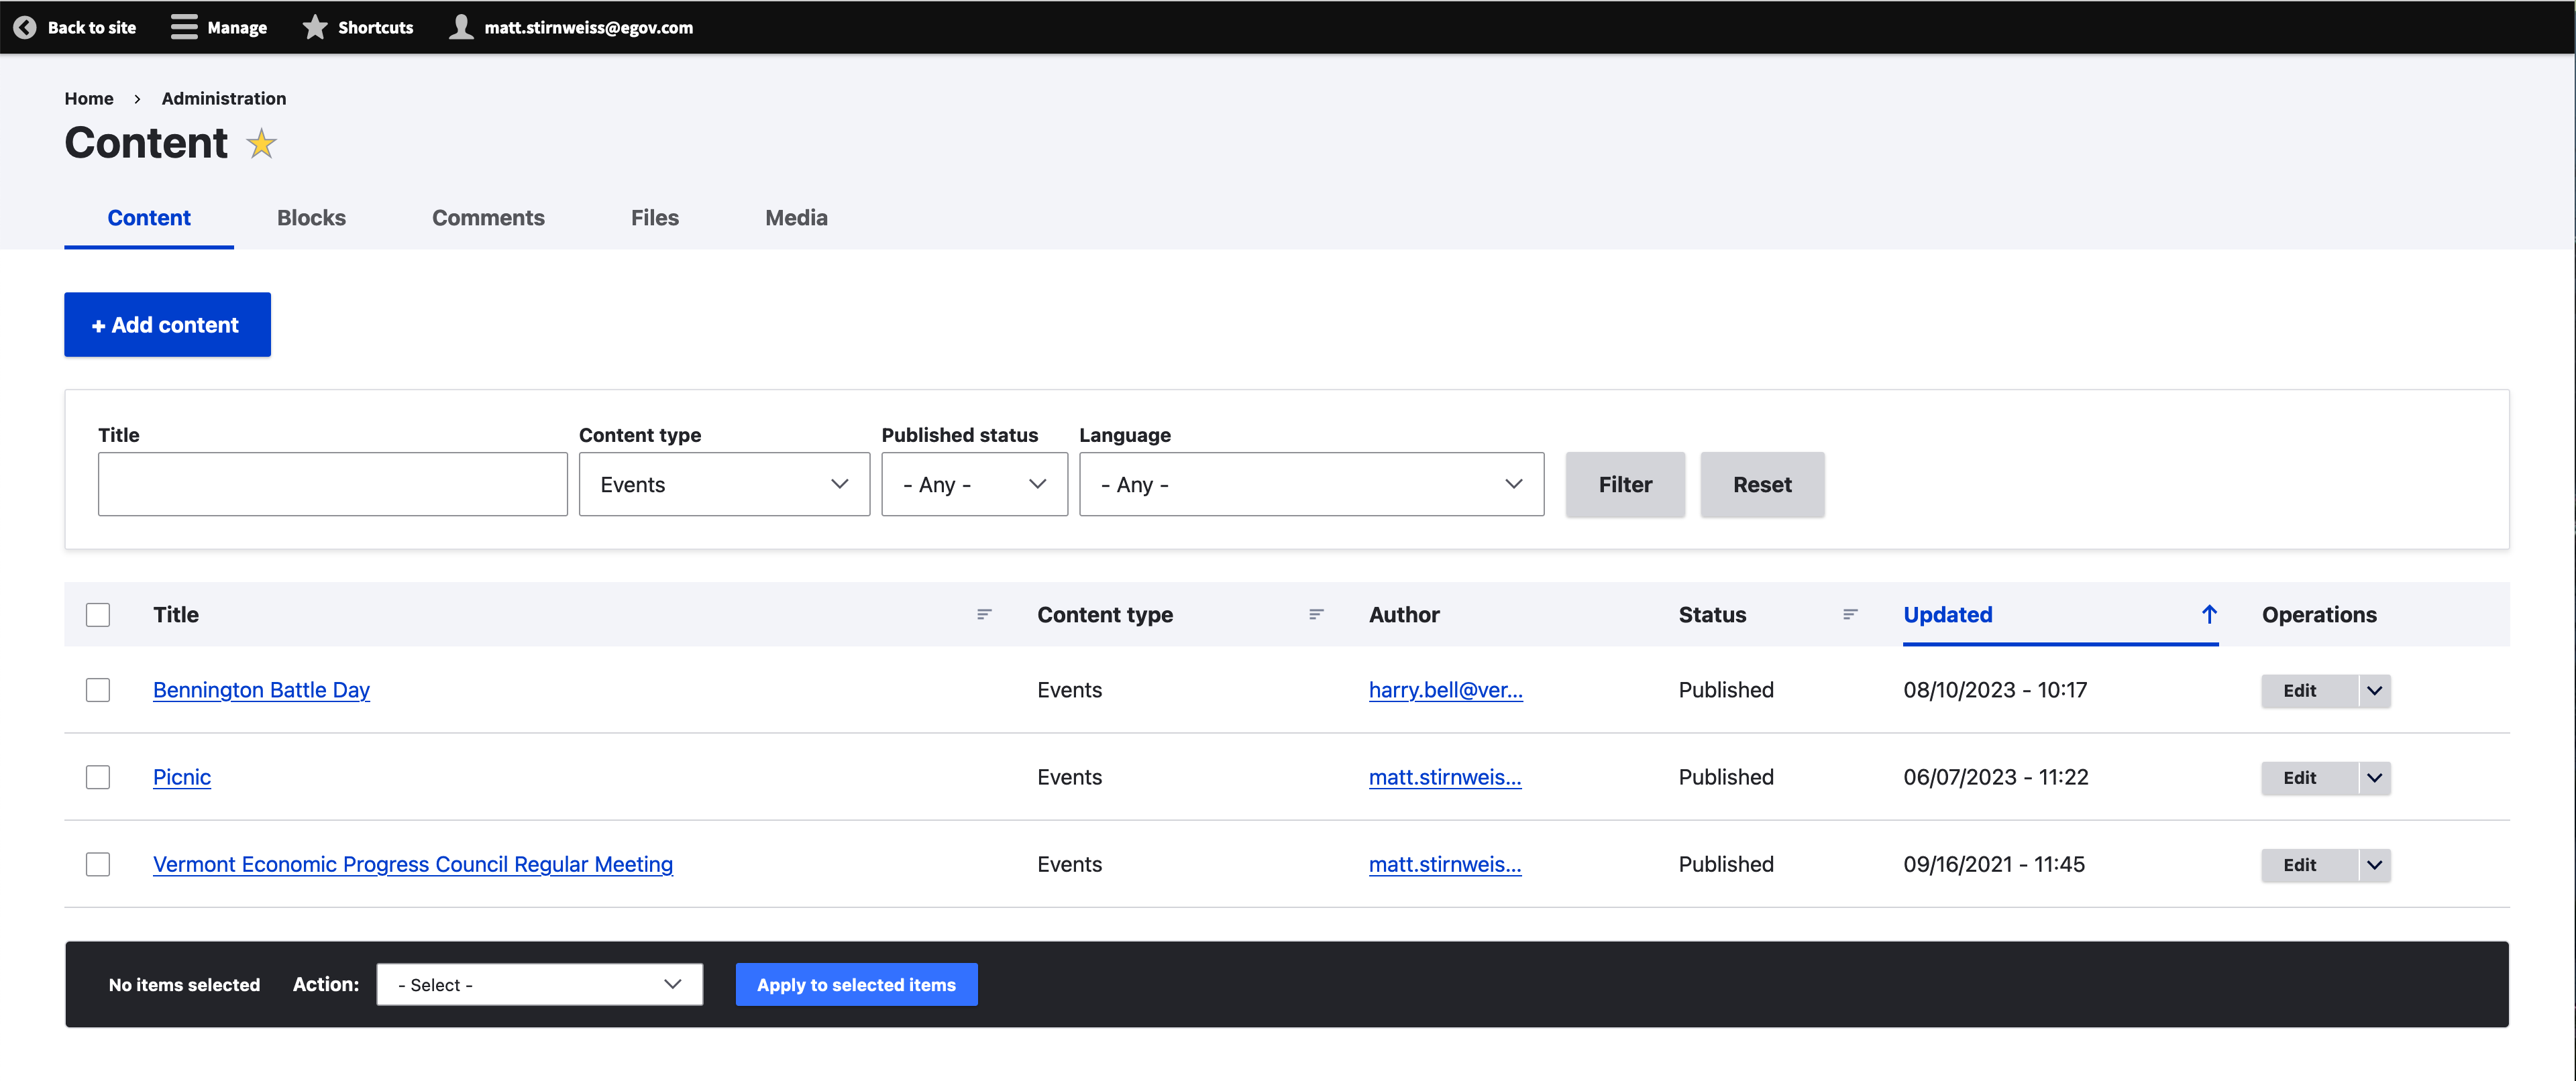
Or navigate the content dashboard and select “Event” in the “Content Type” dropdown menu at the top of the page. This will present you with all Events, sorted by the date they were last edited.
You will then be presented with this page:
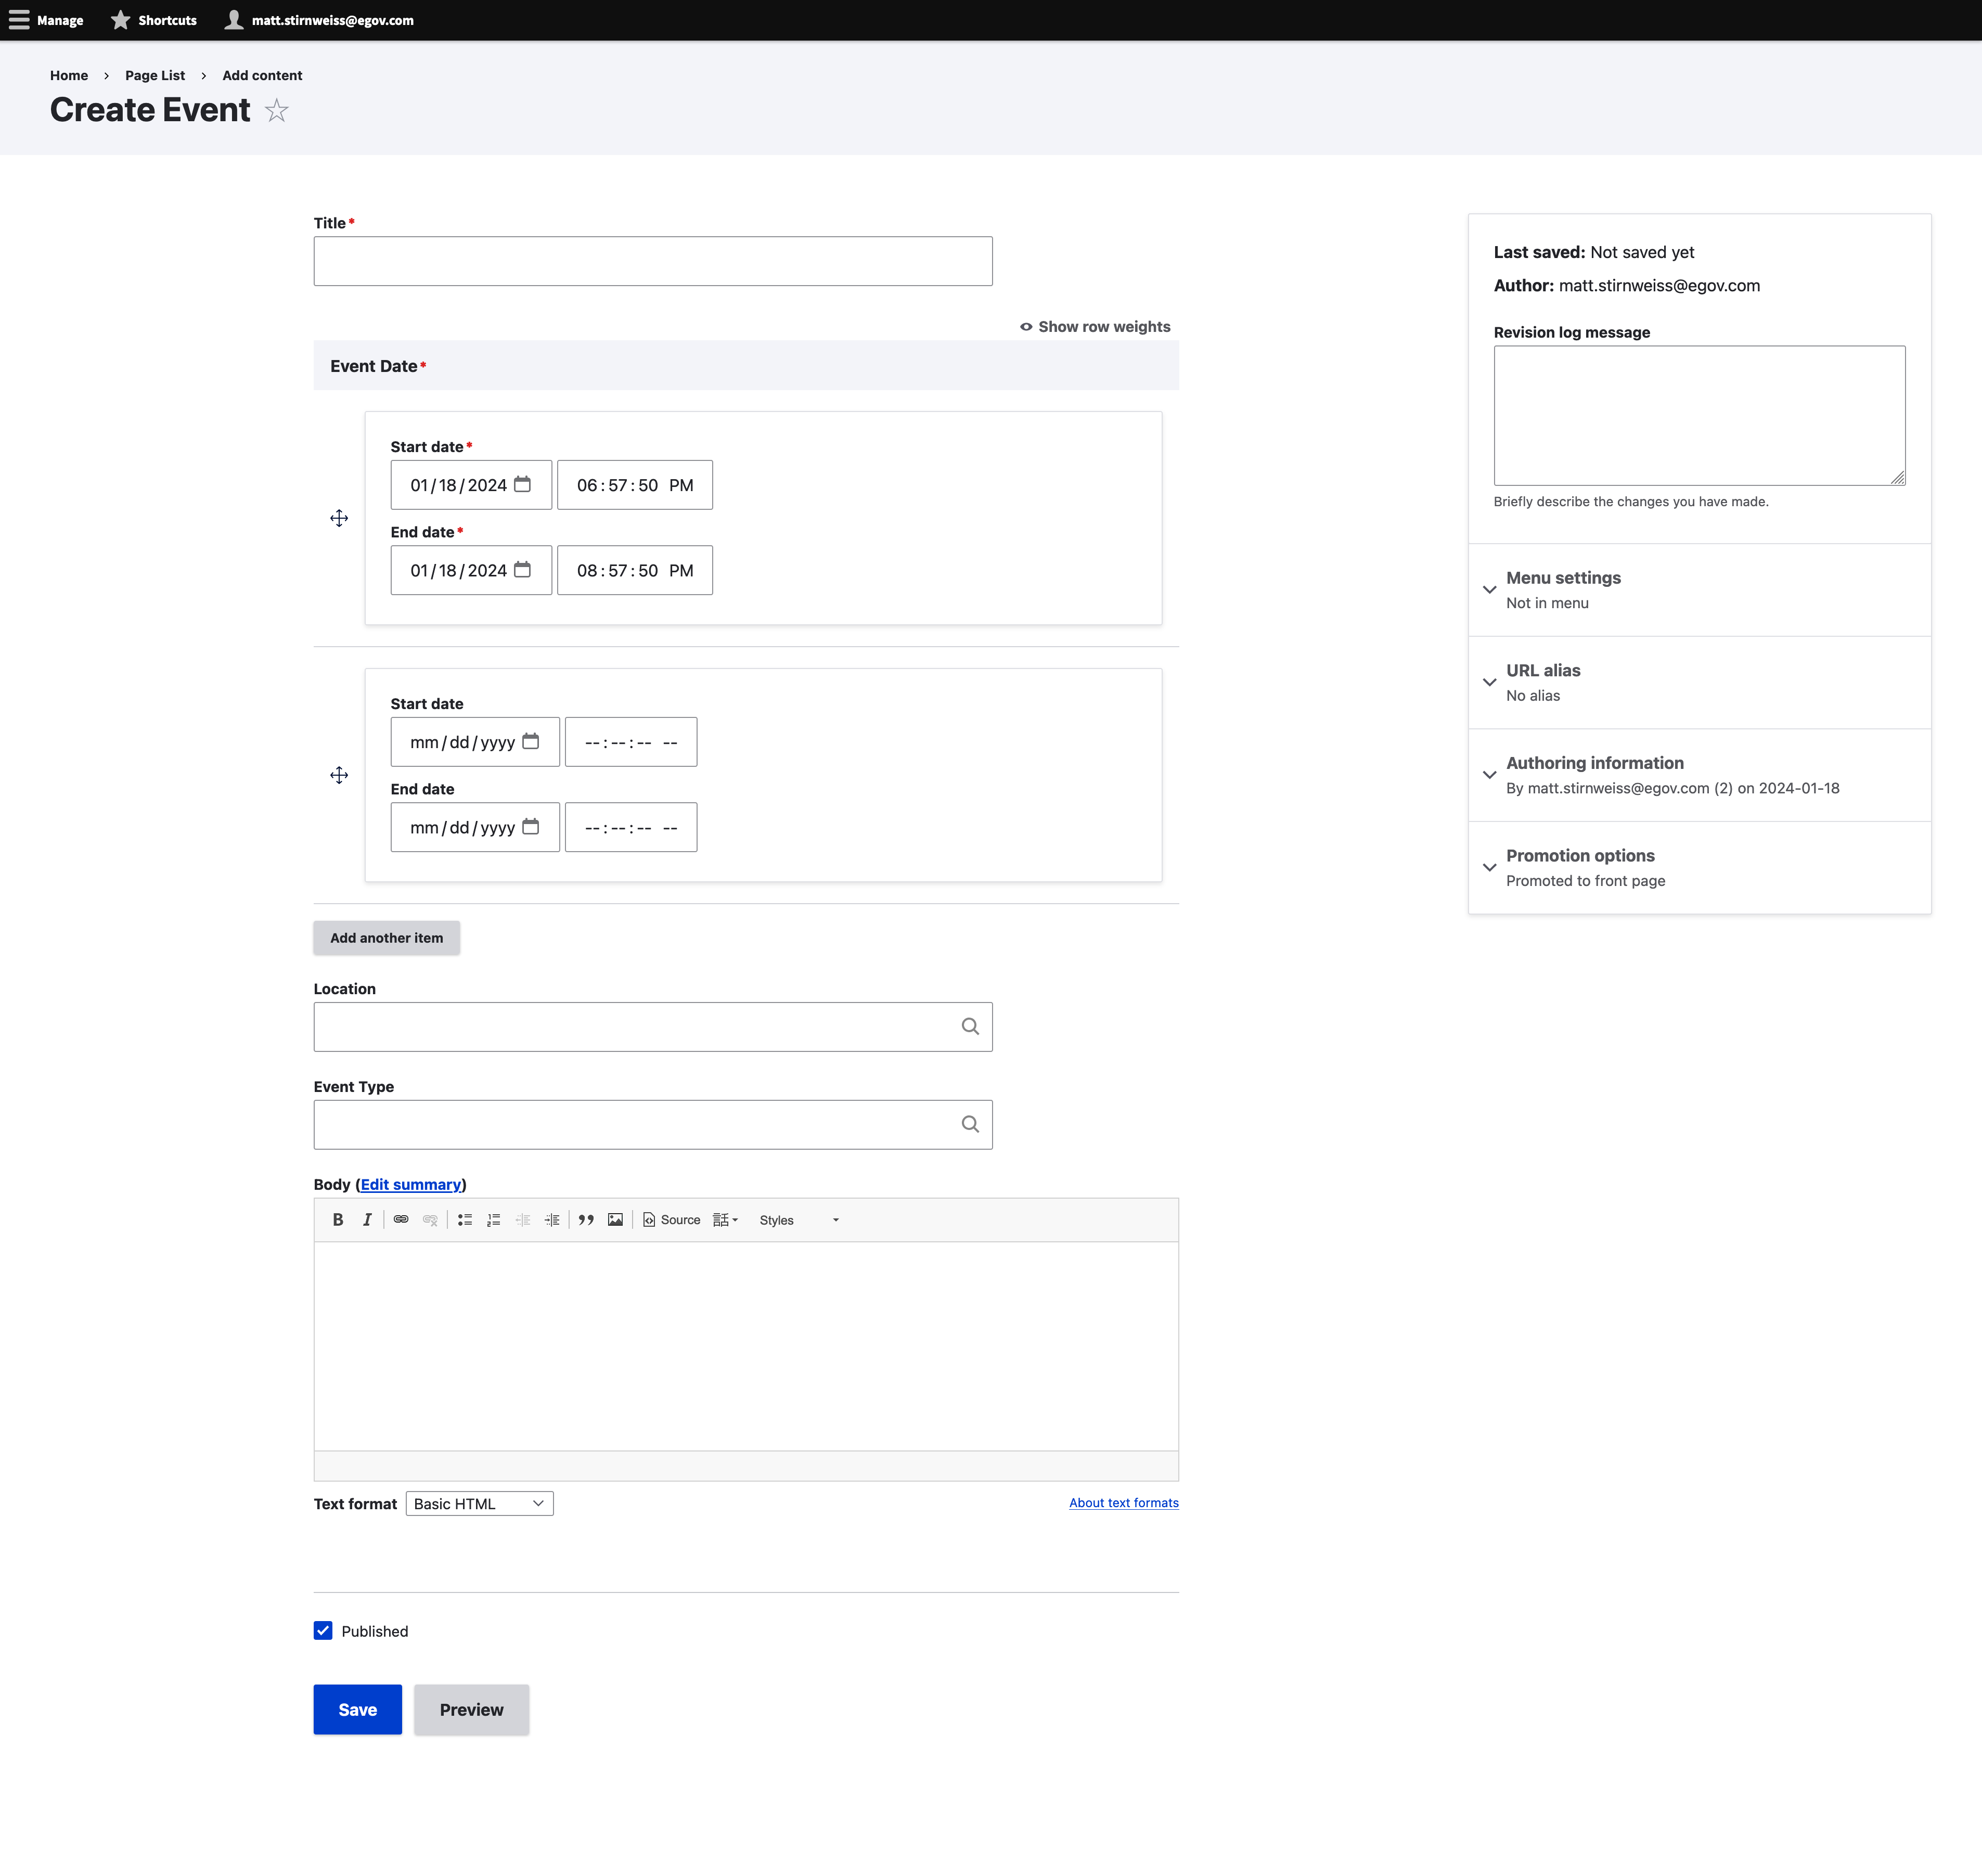
Here’s a breakdown of each field:
- Title: Title that will appear at the top of the page, in the calendar and in search results. This is also used to generate the URL, so a title of “Example Site Page” would have a URL that ends with “example-site-page”.
- Event Date: The date and time of the event, along with the end date/time.
- Location: This is used if you have physical or virtual locations for the event.
- Event Type: Type for the event. Can be set to whatever your organization needs, such as meeting, council meeting etc.
- Body: The content of the event. Recommended to include details such as the event address or online meeting information.
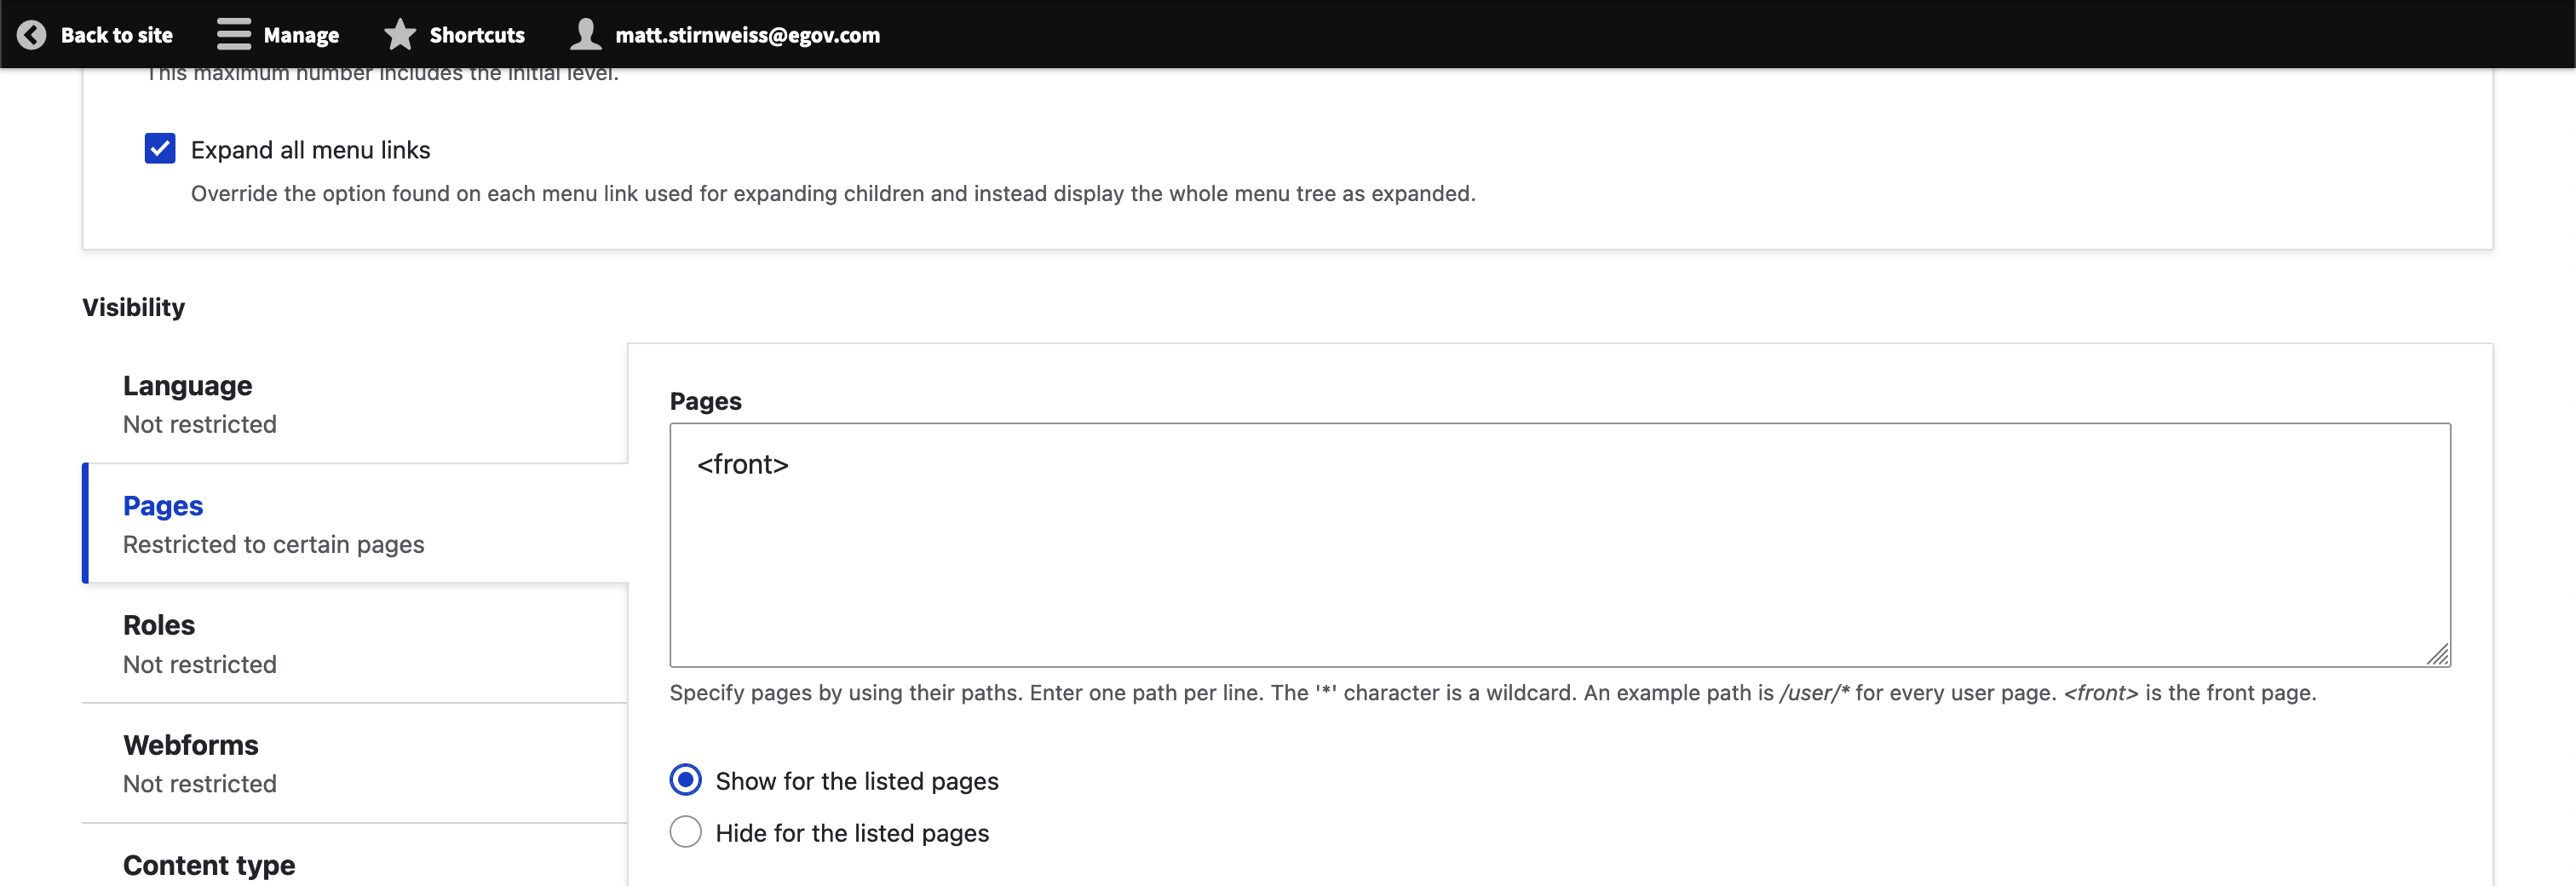
Displaying Events
-
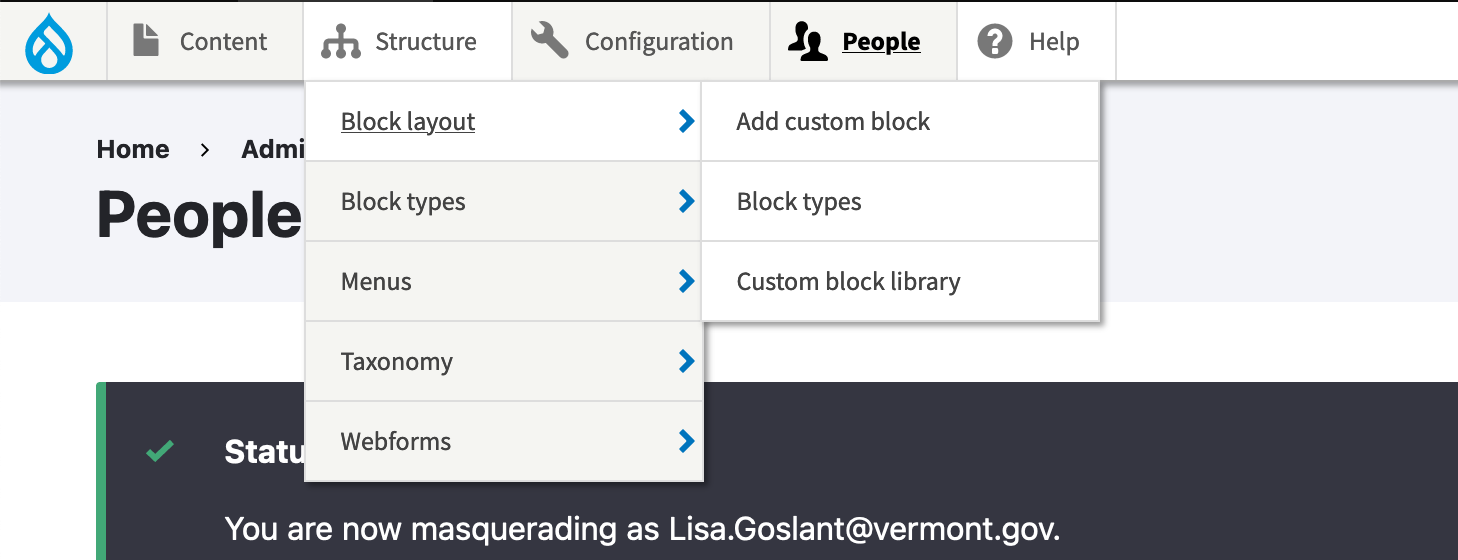
Navigate to Structure -> Block layout.
-
Select the region where you’d like to place the event list
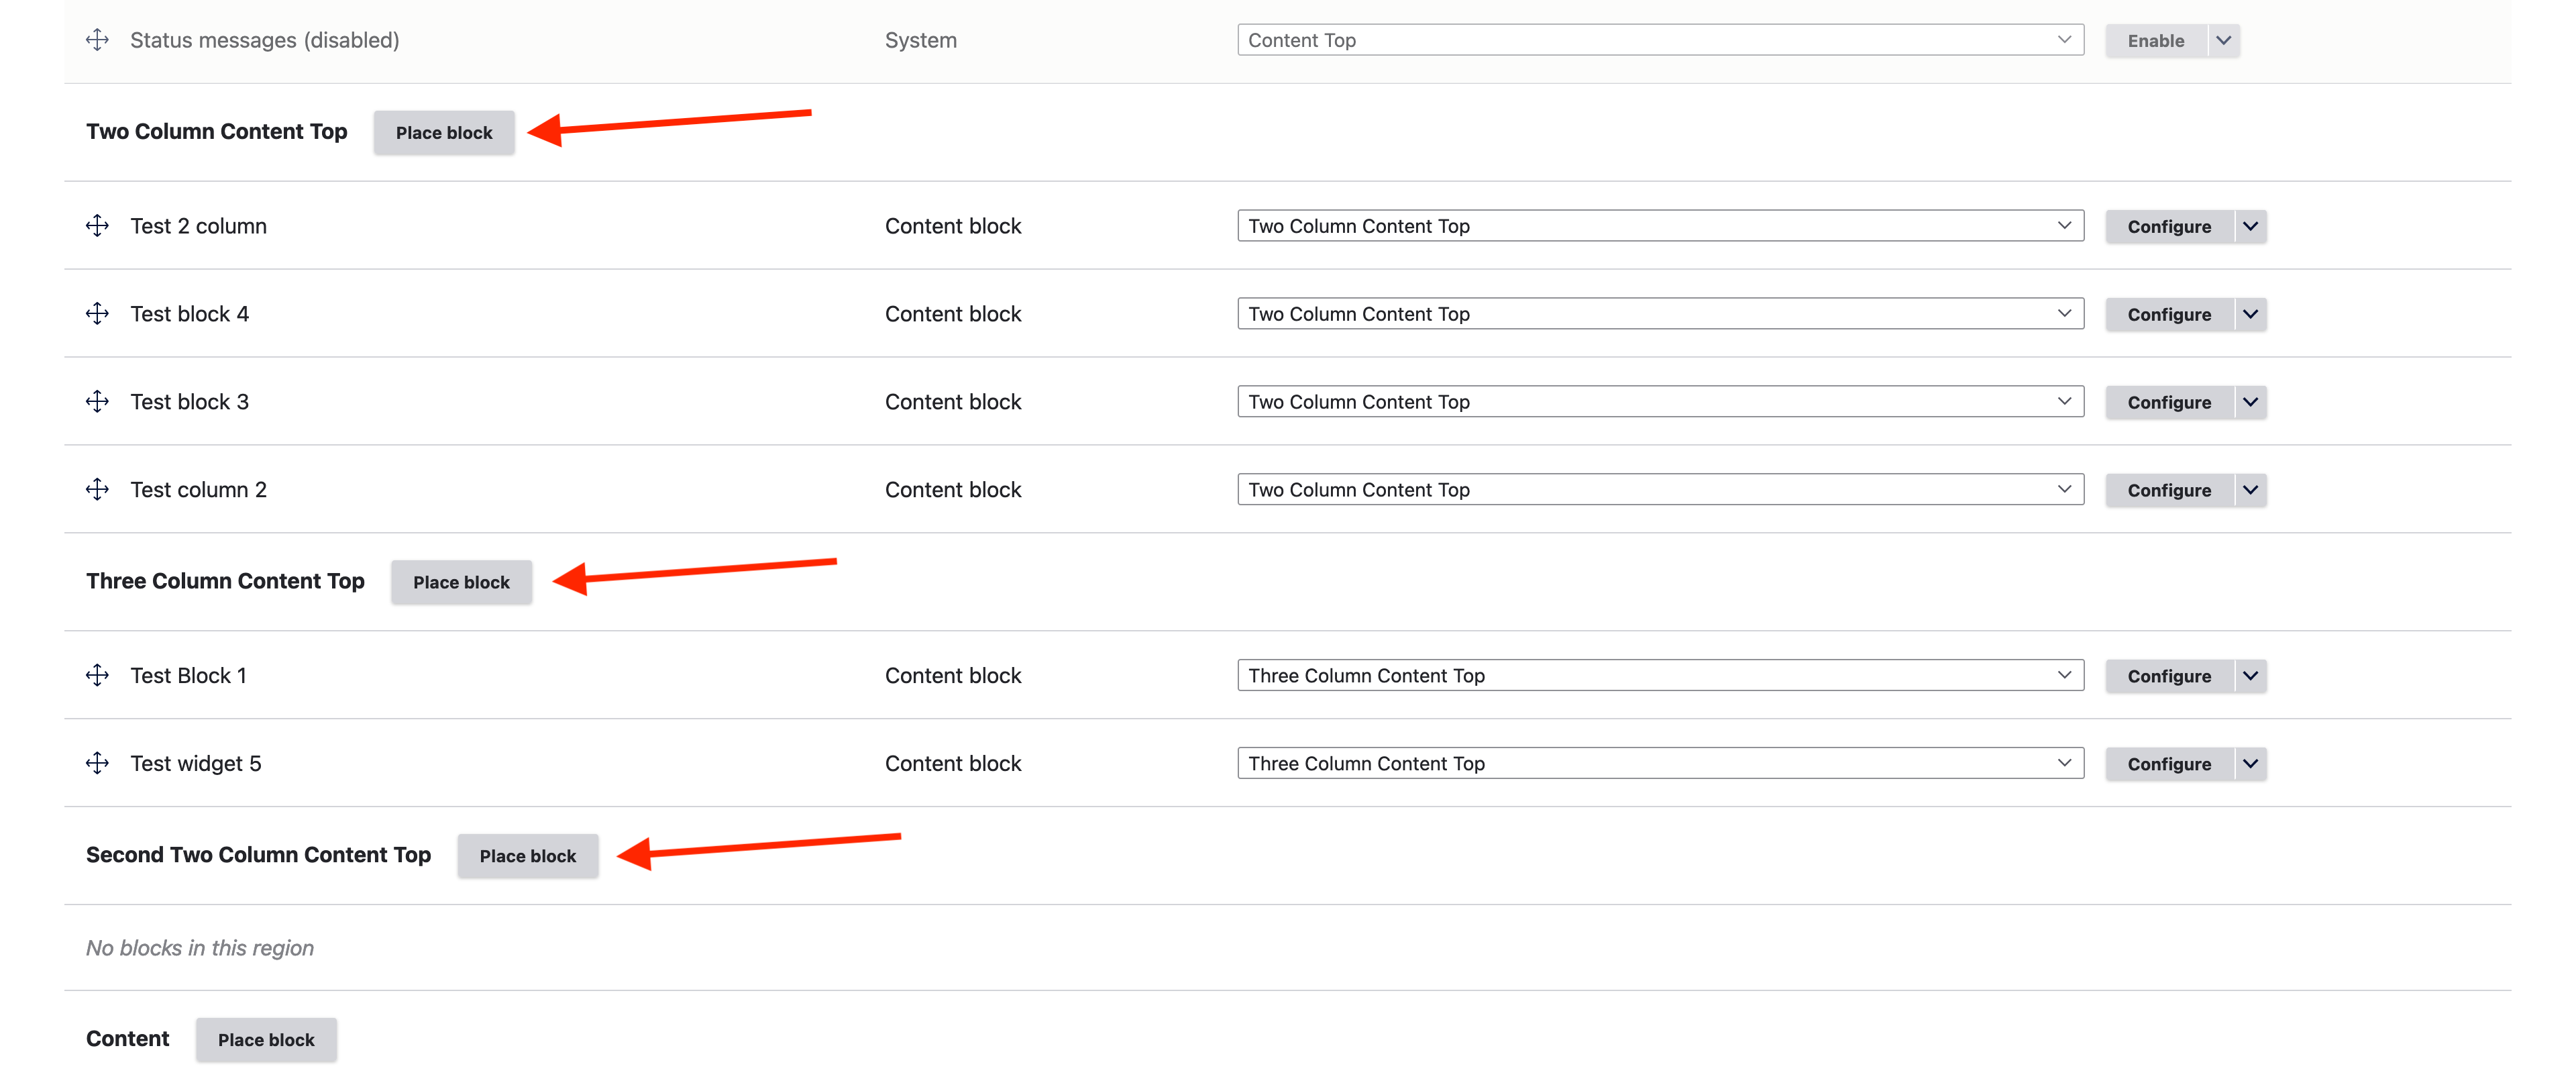
- Second Sidebar is recommended.
-
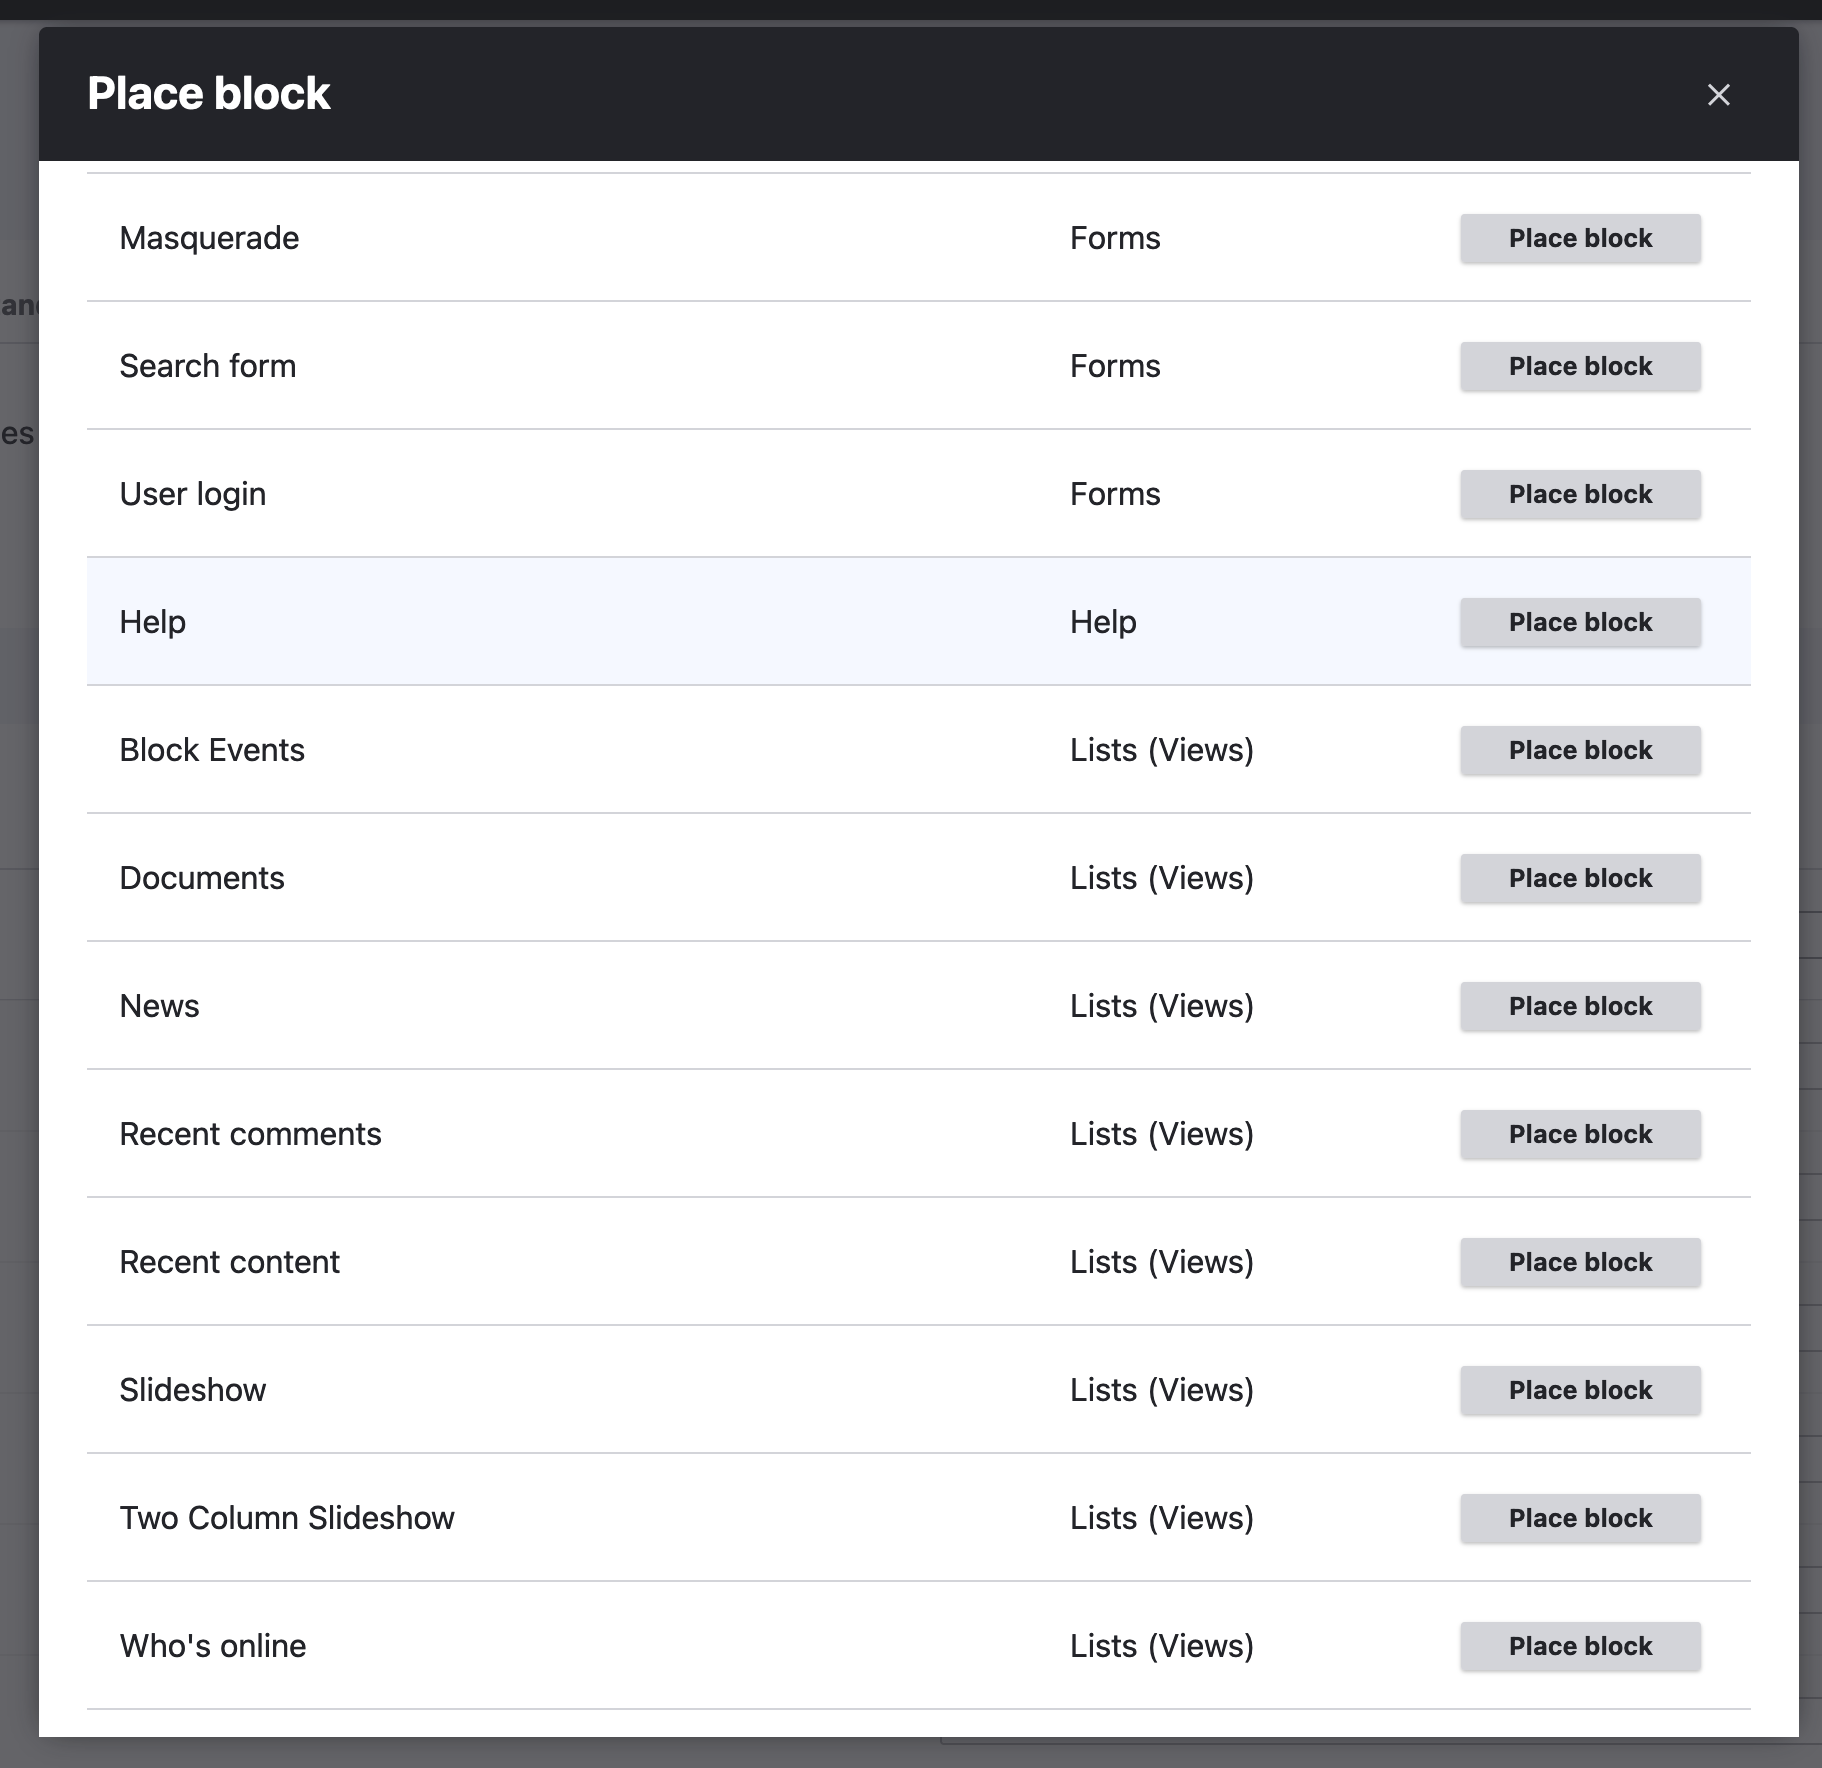
Select the “Events” block.
-
Set the page restriction to the page you’d like it to appear. For example, for the front page.